Friday, May 31, 2013

Tutorial - Glow in the Dark Stars

Those who follow this blog know how much I absolutely adore my Xyron adhesive machines for everything from scrapbook layouts to craft projects with Charlotte.  I was reading this Fancy Nancy book to Charlotte the other night and it got me thinking...hey, I can make glow in the dark stars!  So if you want to make your as well, here's a little tutorial.


You will need the following supplies:  Cardstock, Xyron 2.5" Create-a-Sticker (Permanent Adhesive and Repositional Adhesive), Glow in the Dark Glitter.


1.  Cut Out Star Shapes.  Either by hand or using some sort of die cutting machine, cut out star shapes from the cardstock.  I used these Xyron/ Spellbinder Dies and ran a few pieces of scrap cardstock through my Xyron Creatopia - Shapez Component.


2.  Adhere Permanent Adhesive on Stars.  Using a Xyron machine fitted with permanent adhesive (I used my 2.5" Create-a-Sticker), cover each star shape with adhesive.


3.  Cover Stars with Glitter.  Carefully peel each sticker off of the backing and then cover with glitter.  For some tips on how to do this, check out this Xyron Video.


4.  Adhere Repositional Adhesive on Stars.  Finally, adhere repositional adhesive on the non glittered side of each star.  I used my Xyron 5" Creative Station with Repositional Adhesive but Xyron makes repositional adhesive cartridges for almost all of their machines.  Also, remember to place the glittered side of the star facing up.  This effectively creates a wall sticker!!


5.  Adhere Stickers to Wall.  Finally, stick those stars onto the wall...


...and turn off the lights!  Glow in the Dark Stars!!!!


As always, thanks for stopping by!!!

Thursday, May 23, 2013

May Counterfeit Kit Challenge - Lazy Weekend Mornings Layout and some cards

I just wanted to quickly share a layout and some cards I made using my May Counterfeit Kit.  It felt so good to just craft with no particular agenda or purpose. And as always, it feels great to work away at my stash.

1.  We Love Lazy Weekend Mornings Layout.  I adore the weekends, especially when Justin is home and we get to all sleep in a little bit longer.


Supplies:  May Counterfeit Kit, Lifestyle Crafts Doily Die, Xyron Mega Runner, DIY Foam Tape.

And here is a close up of the title.  I love mixing up my letter stickers.  Goodness knows I have enough of them.  Sigh...  :)


2. Ahoy Boy Card.  This card is for a good friend that just had another boy.  I need to get this bad boy in the mail along with this super cute outfit I bought the other day.
 

Supplies:  May Counterfeit Kit; Stamps (My Cute Stamps - Ahoy); Inks (Jenni Bowlin Studios, Tim Holtz); Punch (WRMK); Adhesives (Xyron Mega Runner, DIY Foam Tape).

3.  Celebrate Card.  I love how easy it is to use this stamp set from Papertrey Ink to make a card for any type of celebratory occasion.


Supplies:  May Counterfeit Kit, Stamp and Die (Papertrey Ink - Celebrations, WRMK); Ink (Jenni Bowlin Studio, Versafine); Xyron Creatopia - Shapez Component; Adhesives (Xyron Mega Runner, DIY Foam Tape).

4.  Thank you Card.  I used the circles in the patterned paper to frame these cute little punched hearts.  Can someone say...use up your scraps!


Supplies:  May Counterfeit Kit, Punchs (Fiskars, WRMK); Adhesives (Xyron Mega Runner, Xyron 1.5" Create a Sticker).

5.  Smiles Card.  And this final card is for my amazingly dear and talented friend, Misty.  Out of the blue, she sent Benjamin the sweetest card and outfit.  So, Misty, this one is coming in the mail to you very very soon.  I love you dearly, my friend.


Supplies:  May Counterfeit Kit, Stamp (Lawn Fawn - Many Thanks); Ink (Jenni Bowlin Studio); Tim Holtz Tiny Attacher; Punch (WRMK); Adhesives (Xyron Mega Runner, DIY Foam Tape).

If you haven't already, make sure to check out the Counterfeit Kit Challenge Blog.  It's a great way to use up that stash of yours!

As always, thanks for stopping by!

Wednesday, May 22, 2013

Xyron and Bo Bunny Blog Hop


I couldn't be more excited to work with Bo Bunny and Xyron this month, especially since I got to play with Bo Bunny's newest Key Lime collection!  Being in Hawaii, I think this collection was made for me!

1.  Our Water Baby Layout.  The Bo Bunny Key Lime Collection includes some fantastic papers that make scrapbooking a breeze.  I used the Cowabunga paper as the foundation of my layout.  And the Noteworthy die cut and journaling spot pack also makes embellishing the page super easy!


Supplies:  Patterned Paper (Bo Bunny - Key Lime); Die Cuts and Journaling Cards (Bo Bunny - Key Lime); Adhesives (Xyron Mega Runner, Xyron 5" Creative Station; Xyron 5" Creative Station Permanent Adhesive); Letter Stickers (American Crafts, October Afternoon, Studio Calico); Spray Mists (Studio Calico); Tim Holtz Distress Ink; American Crafts Precision Pen; Tim Holtz Tiny Attacher; Tim Holtz File Tabs Alterations Die.


To add a bit of more dimension to the layout, I cut apart another sheet of Cowabunga paper and then layered it onto the foundation sheet with some DIY Foam Tape.  Then, I simply layered a number of papers and die cuts/ journaling cards to make the photo mat/ journaling spot.


The title to the layout actually comes from my son's rash guard, which says "water baby."  What a cutie.


And if you haven't noticed already, I'm kindove obsessed with these whale shaped paper clips from Midori


2.  Aloha Sign.  Since moving to Hawaii, I have noticed that all of my neighbors have these adorable "Aloha" signs at their front door.  While I could have easily just purchased one from the nearby flea market, I have been hesitant...I am constantly thinking, "I could make that."  Well, fast foward six months and I have FINALLY made my own customized sign!


Supplies: Bo Bunny Key Lime Patterned Papers, Bo Bunny Key Lime Jewels, Xyron Creatopia - Permanent Adhesive, Xyron 5" Creative Station - Permanent Adhesive, Silhouette Cameo, Studio Calico Letter Stickers, Tim Holtz Distress Ink.

The Bo Bunny Key Lime Jewels added the perfect amount of dimension to the surfboard.  I am seriously in love.  I cannot wait to put this at the front of our house tomorrow!


3.  Sticker Chart.  Finally, since I am always trying to just use up all of my supplies, I used all of the scraps that were left on my desk after making the above projects to put together a quick sticker chart for Charlotte.  Even the letter stickers represent whatever I have on hand.  We have been using these sticker charts for the past few months and it has really proven to be an effective incentive program.


Supplies:  Patterned Paper (Bo Bunny Key Lime Collection); Xyron Mega Runner; Letter Stickers (October Afternoon, Sassafras).

Make sure you visit the Xyron Blog all week for lots of inspiration from the rest of the Xyron Design Team!

As always, mahalo for stopping by!

Tuesday, May 21, 2013

Counterfeit Kit Club - May 2013


I have been a long time fan of the Counterfeit Kit Challenge Blog.  I often get envious of all you kit club members but just can't get myself to jump on the band wagon since I still have so many supplies that I love and adore.  The Counterfeit Kit Challenge Blog is my answer - providing me a kit community while still helping me use up my massive stash.

For this month, the inspiration kit was the Shoreline Kit from Polly Scrap Kits.


I am obsessed with all things nautical (and it's not because of recent trends, thank you very much).  Blame my sailor husband.  So I was super excited to try to pull something together from my stash.  Here is what I came up with.


For the patterned papers, I stuck with the blues/ reds/ yellows.  There is a pop of black in there.  I also pulled from my 6x6 pads to maybe create some cards.  The patterned papers are from My Mind's Eye, Echo Park, Pebbles, American Crafts, Canvas Corp, and October Afternoon.

For my embellishments, I again focused on the color palate and also pulled some nautical themed stamp sets. 


I have already create two layouts and a couple of cards so I can't wait to share those with you!

As always, thanks for stopping by!

Saturday, May 18, 2013

Aloha Friday - From Markets to Military Traditions

I continue to be in awe of how blessed we are to be living in Hawaii.  I hope that the thrill of seeing the pristine beaches, lush mountains, and double rainbows never end.

So much to share in this Aloha Friday post.  So, like last time, I'll keep it simple with primarily unedited photos and little commentary.

1.  Chinatown Markets.  I'm Asian.  I love food.  So obviously, we had to take a little trip walking around the Maunekea Market Place in Chinatown.


There were so many interesting things to see from these baby bitter melons...


...to mounds and mounds of chicken feet!


Anyone want some live frogs??


Sea asparagus!  I actually bought a bottle of sea asparagus salad dressing a few weeks ago that we have been using with our salads.


And look how colorful these parrot fish are!


I think Charlotte enjoyed looking at everything too, especially since she got to be with Daddy all morning.


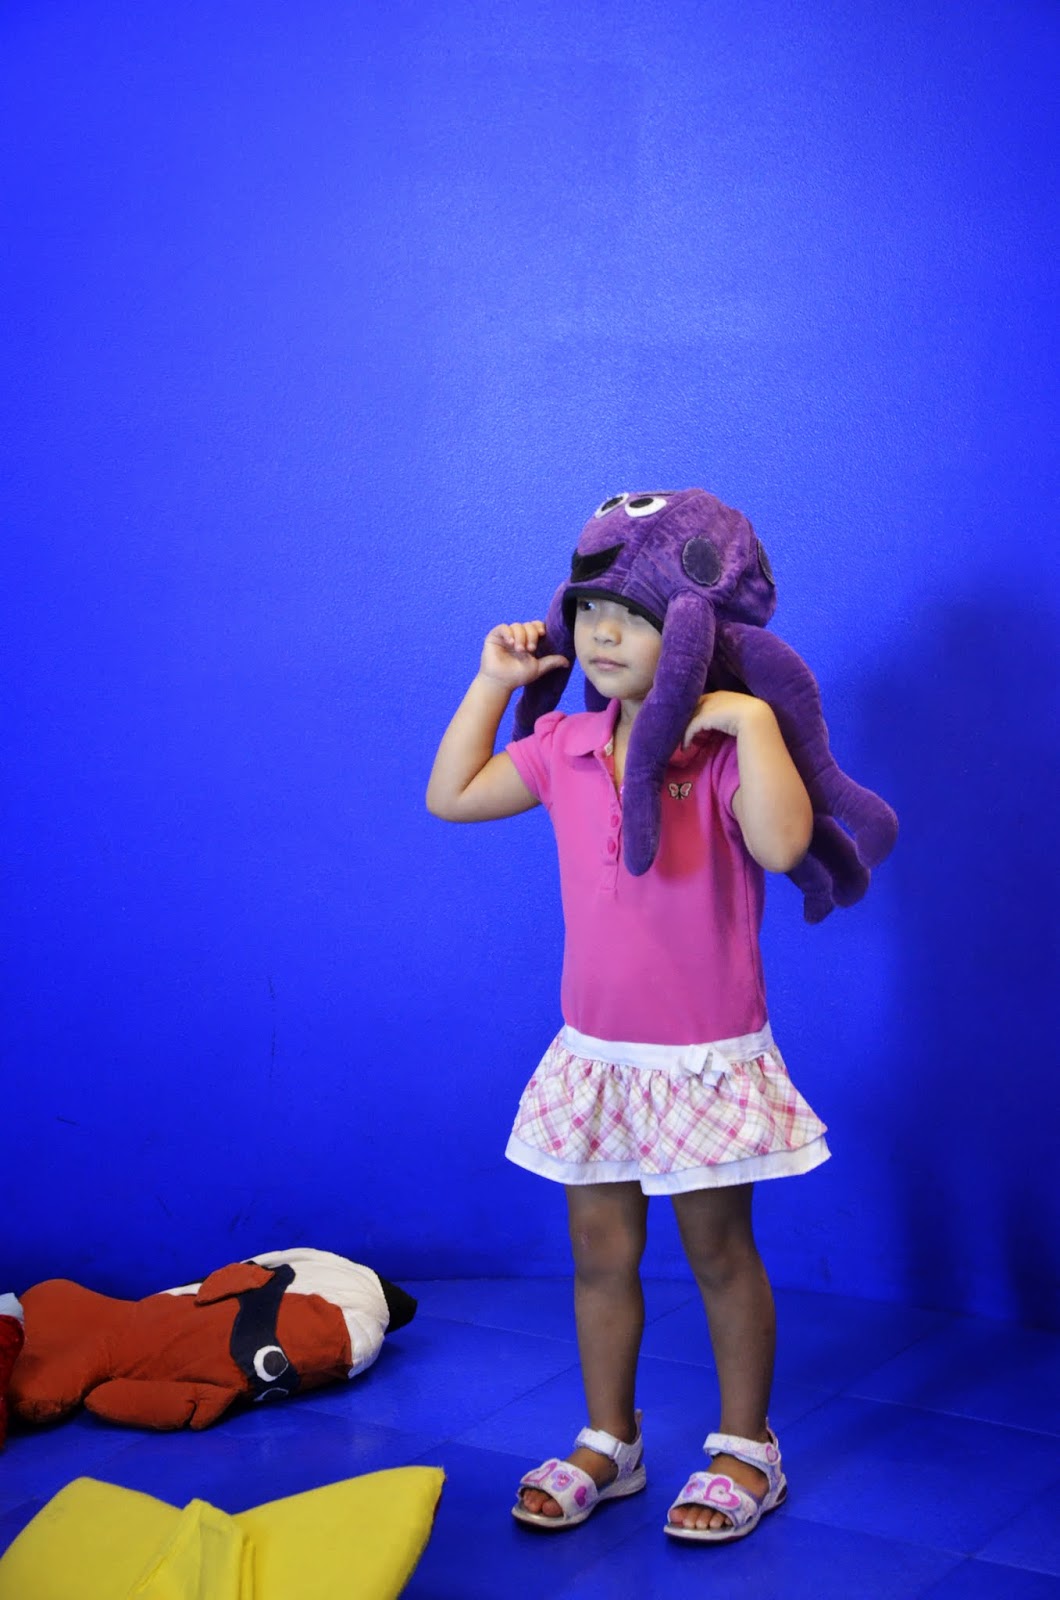
2.  Hawaii Discovery Center.  While there is nothing particularly "Hawaiian" about this museum, it was a fantastic way to spend an afternoon.  Charlotte had first visited the Hawaii Discovery Center with her school.  She had such a great time, she specifically asked to come again!


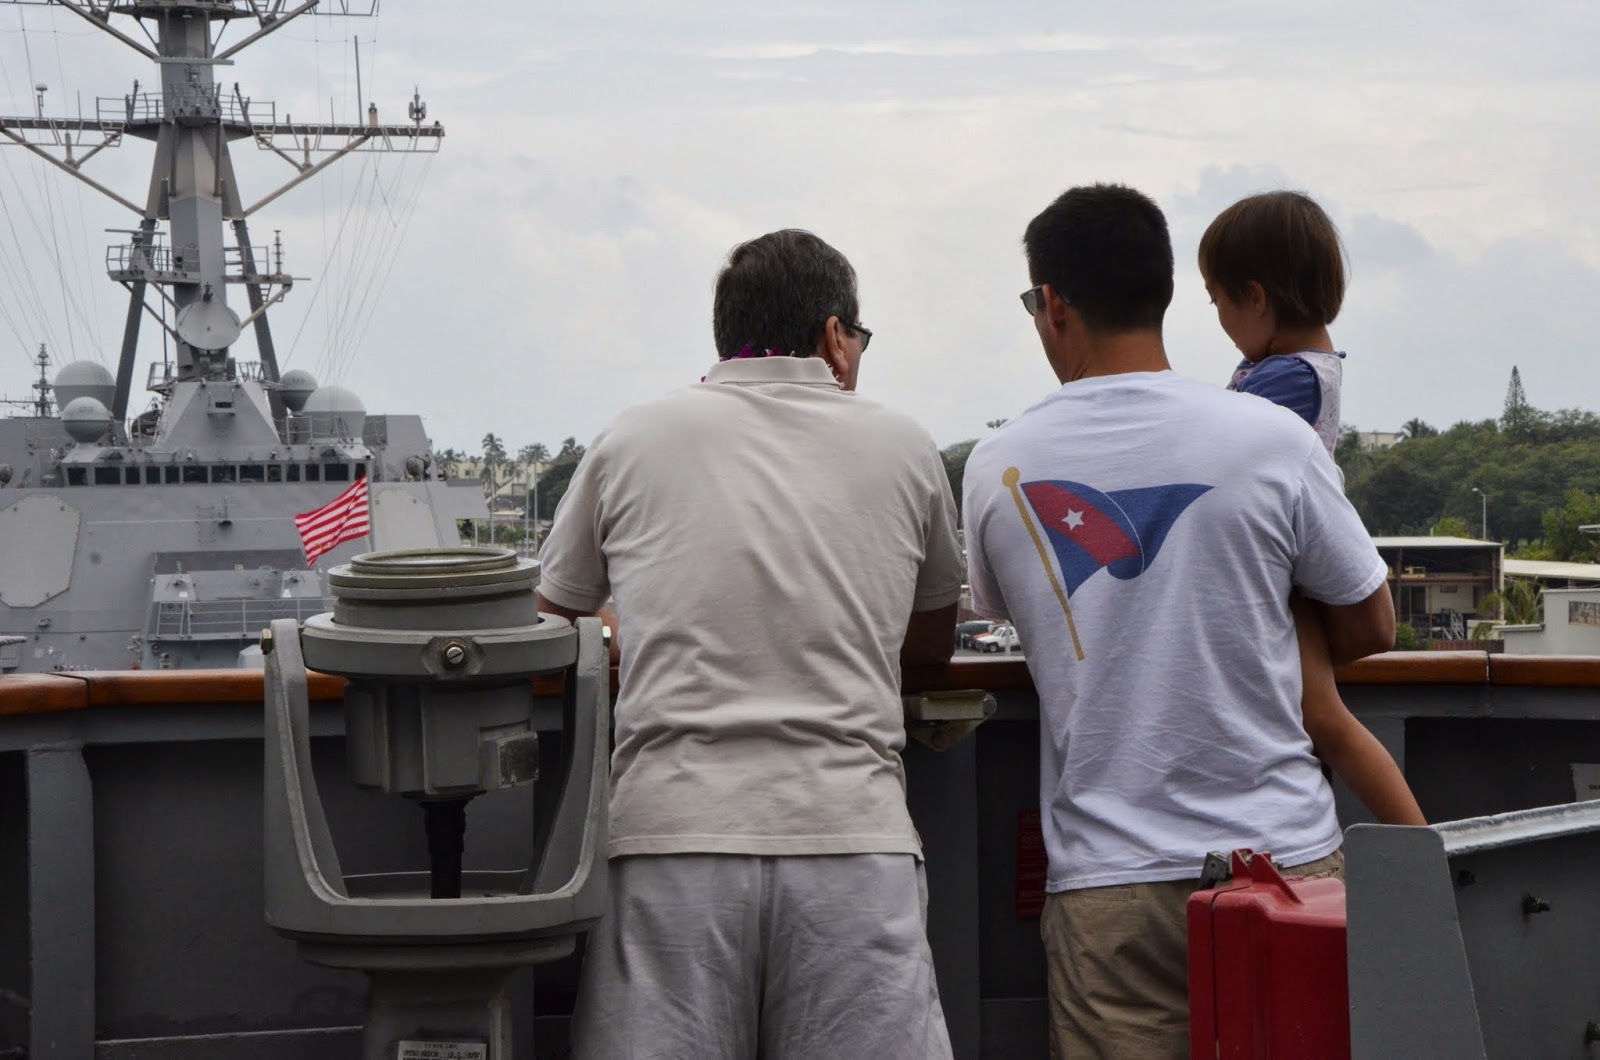
3.  Visiting the Daddy's Ship.  Pappy came out for a visit a few weeks back and our very first stop was Justin's ship.  Since she ship only recently came out of the yards for some major work, it was also my first time on the ship.

Here is Charlotte and Knuffle Bunny relaxing in the ward room.


Charlotte was not shy to start driving the ship either!


A view of the USS Arizona in the background.


She's running back in to drive the ship again!


"That's big, Mommy."


Looking at charts.


And now it's my turn to drive!


4.  Germaine's Luau.  I have been begging to go to a luau since we moved to Hawaii.  With Pappy here, we finally got to go!  We decided on Germaine's Luau primarily because it was featured on Diner's Drive-ins and Dives.  Oh my goodness, the kahlua pork was SO RIDICULOUSLY GOOD!!!!


Cheers!


Charlotte was enthralled with the entire experience!


5.  Change of Command.  I had the privilege of attending a change of command ceremony for Justin's ship.  Plus, I always love an excuse to see my husband in dress whites.  :)


A final handshake...


6.  Ko Olina.  And finally, we spent the afternoon at the lagoons in Ko Olina with some friends from San Diego.  The kids were sporting some shades and splashing in the waves.  This place was awesome - super calm waters that were perfect for Charlotte.  Coupled with plenty of shade for Benjamin, you can guarantee that we will be coming back!


Sorry for the belated post but as always, mahalo for stopping by!!
Related Posts Plugin for WordPress, Blogger...